Verifying Tamr Core Installation
Steps to verify that Tamr Core has installed successfully.
Start Tamr Core and Dependencies
Start Tamr Core and its dependencies:
cd <tamr-home-dir>/tamr
./start-dependencies.sh
./start-unify.sh
If Tamr Core fails to start:
- Check
<tamr-home-dir>/tamr/logs/unify.logfor relevant errors. - Run the validation utility in the next section to diagnose the issue.
Validate Configuration and Health
Run the Tamr validation utility to check the configuration and connectivity:
cd <tamr-home-dir>/tamr/utils
./unify-admin.sh validate
See Validation Health Checks for more details.
Verify Installation in Tamr Core
To verify the install, create a new project in Tamr Core using a test dataset from your local machine.
To create a test project:
- Create a local
test.csvfile to use as a test dataset with the following data:
id,name,color
1,bill,red
2,ted,blue
3,jim,orange - Sign in to Tamr Core. If this is the first time signing in, sign in using the default admin credentials.
- Select Create new project.

Create new project
- Select Schema Mapping.
- Enter a project name, such as “install_check”, and then select Create.
- Select Go to Datasets > Add new dataset.
- Select Upload File > Choose file.
- Select the local
test.csvfile you created in step 1. - For the Primary Key column, select No Primary Key.
- Select Save Datasets.
Tamr Core uploads the file, creates a Tamr dataset, and starts the job to create profiling information. The profiling job runs in the background. The first dataset and profile job may take several minutes to complete, depending on your deployment type and the size of the uploaded dataset. - In the Schema Mapping page, select Create Unified Dataset.
- In the left panel, select all of the attributes from the source dataset.
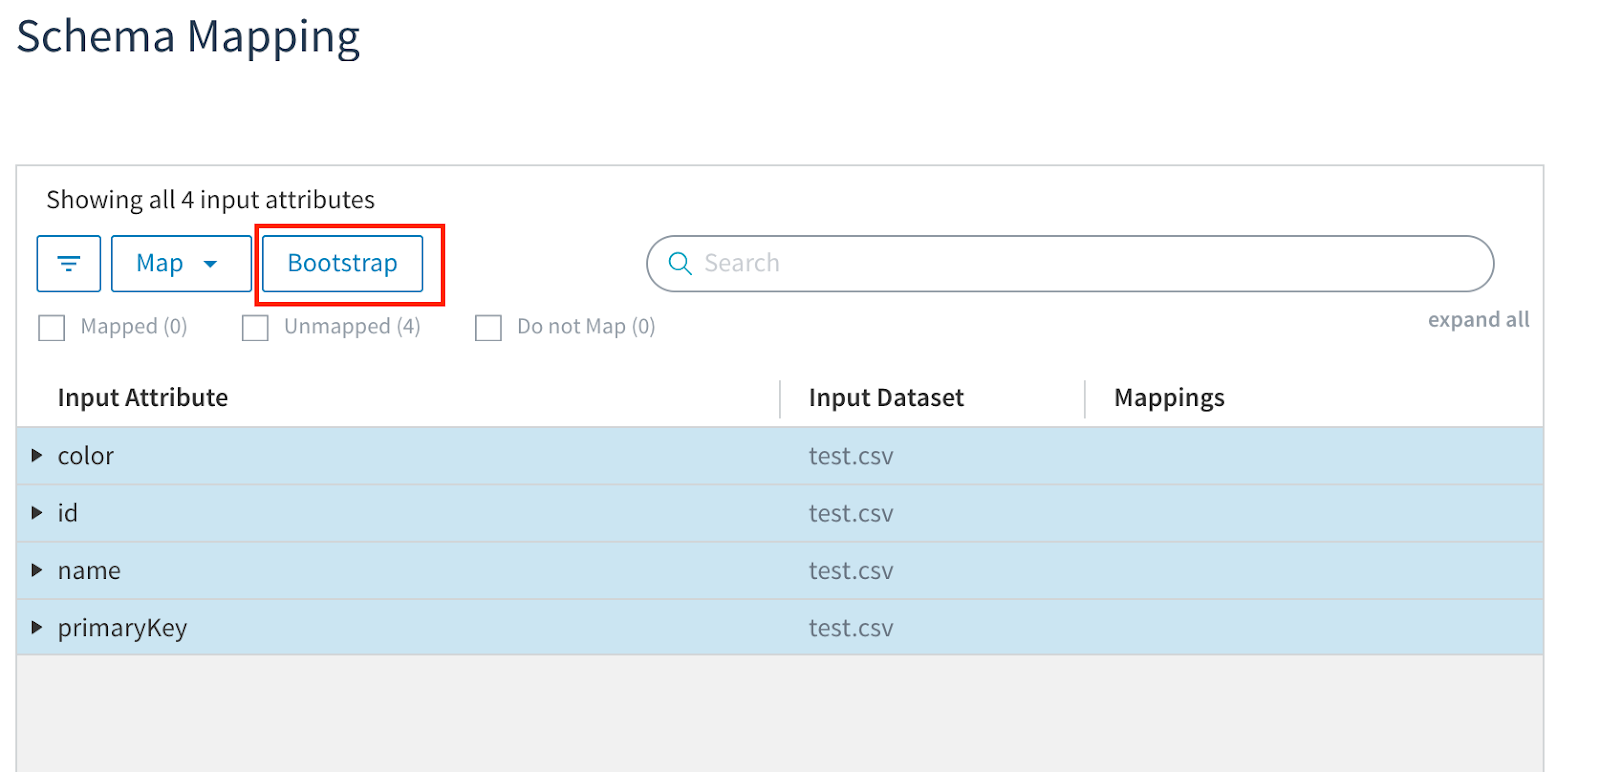
- Select Bootstrap to create these attributes in the target dataset schema .

Bootstrap option
- Select Update Unified Dataset in the upper right corner, and then confirm the update.
Updating the unified dataset may take several minutes to run. - Navigate to the Jobs page in upper-right corner to check the status of the Profile and Unified Dataset jobs.
The jobs should eventually show status as Succeeded. If both jobs succeed, you have verified the installation.
If the jobs failed, select the Failed status to open the error message. More detailed information on failures can also be found in the log files ( <tamr-home-dir>/tamr/logs/dataset.log).
Stopping and Restarting Tamr Core
If you need to stop or restart the Tamr Core application, see Restarting Tamr Core.
Updated over 2 years ago